All Set
This week feels like a week full of new beginnings and promise. It feels like the first two weeks were just preliminary warm up weeks, I was putting on my socks, lining up the mechanical pencils and doing vocal warm ups to find my range. In the past seven days, I’ve accomplished a few key tasks at work, updated my home office with a stand up desk and sorted out my home printing setup.
The new stand up desk at home is not so much for helping me work standing but more for lowering the desk so that I can work comfortably. While the L shaped desk that I had previously had a real old school charm about it, it took up a lot of space and it was about 10cm too high. As wonderful as this new addition is, the cherry on top of my feel good sundae is my new home printing setup.
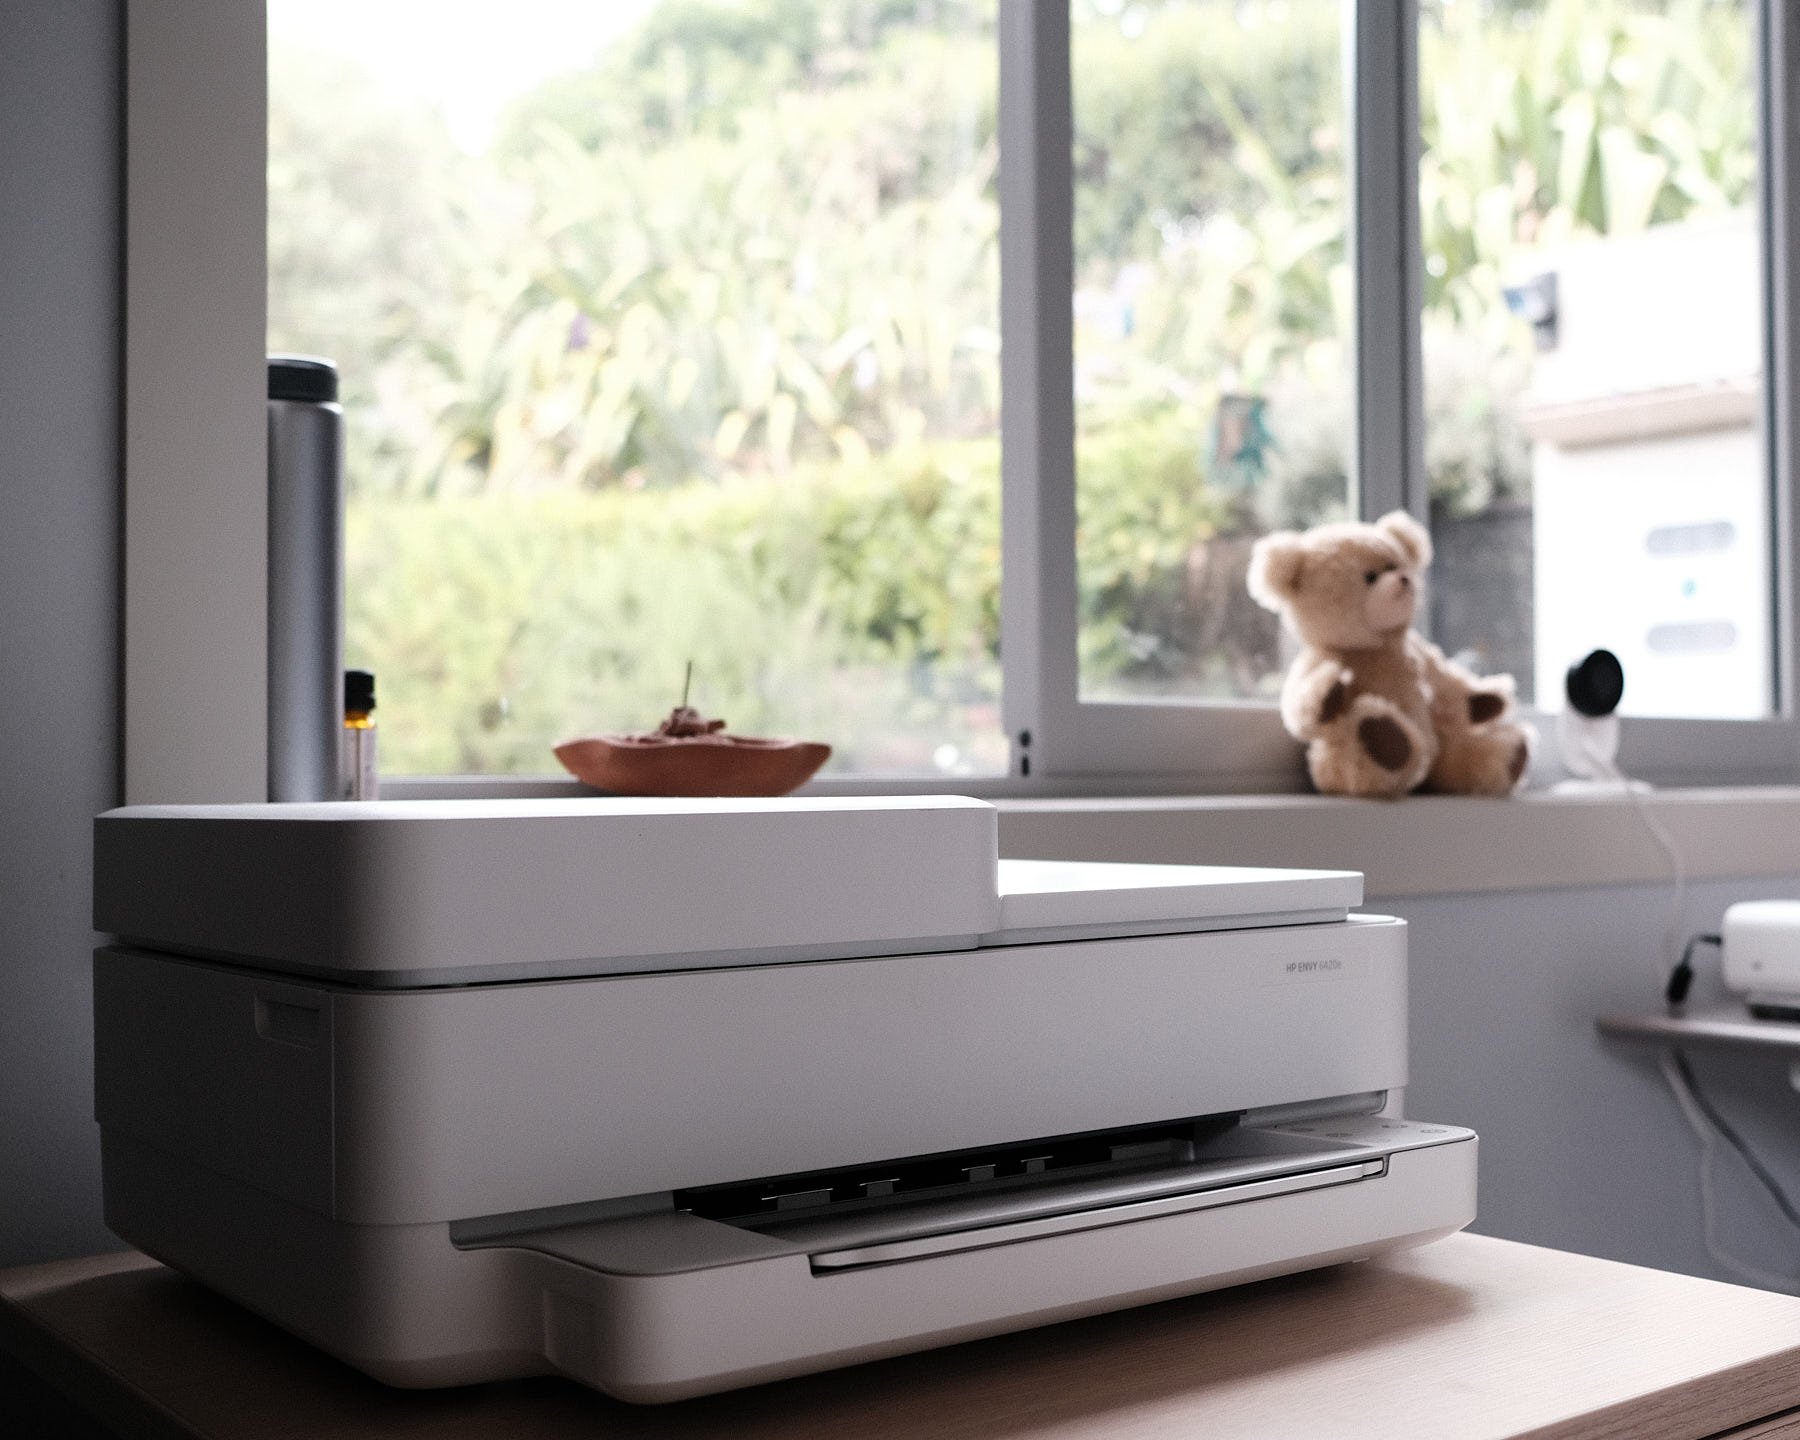
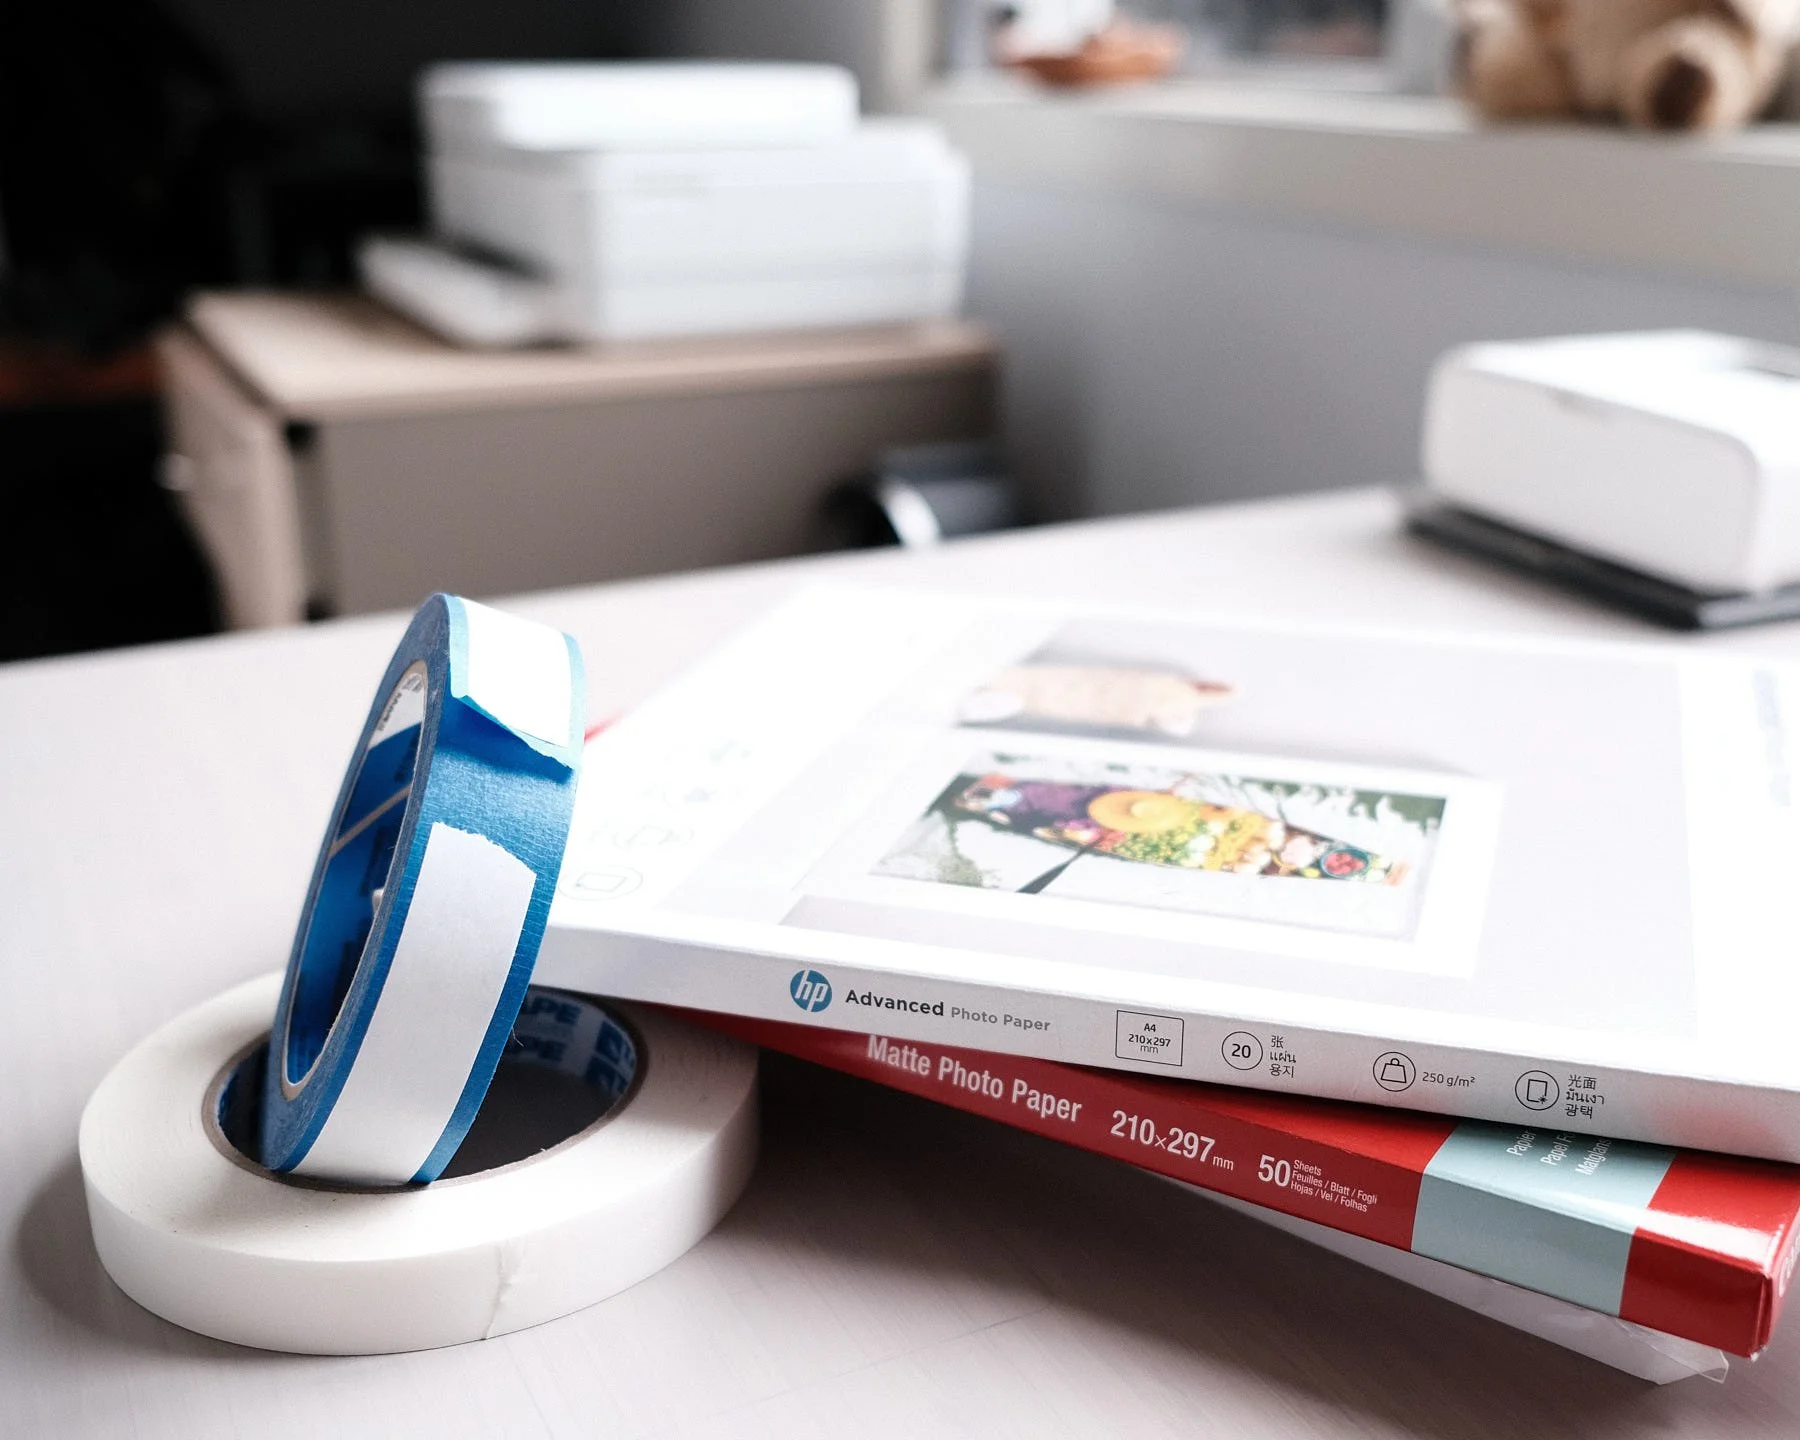
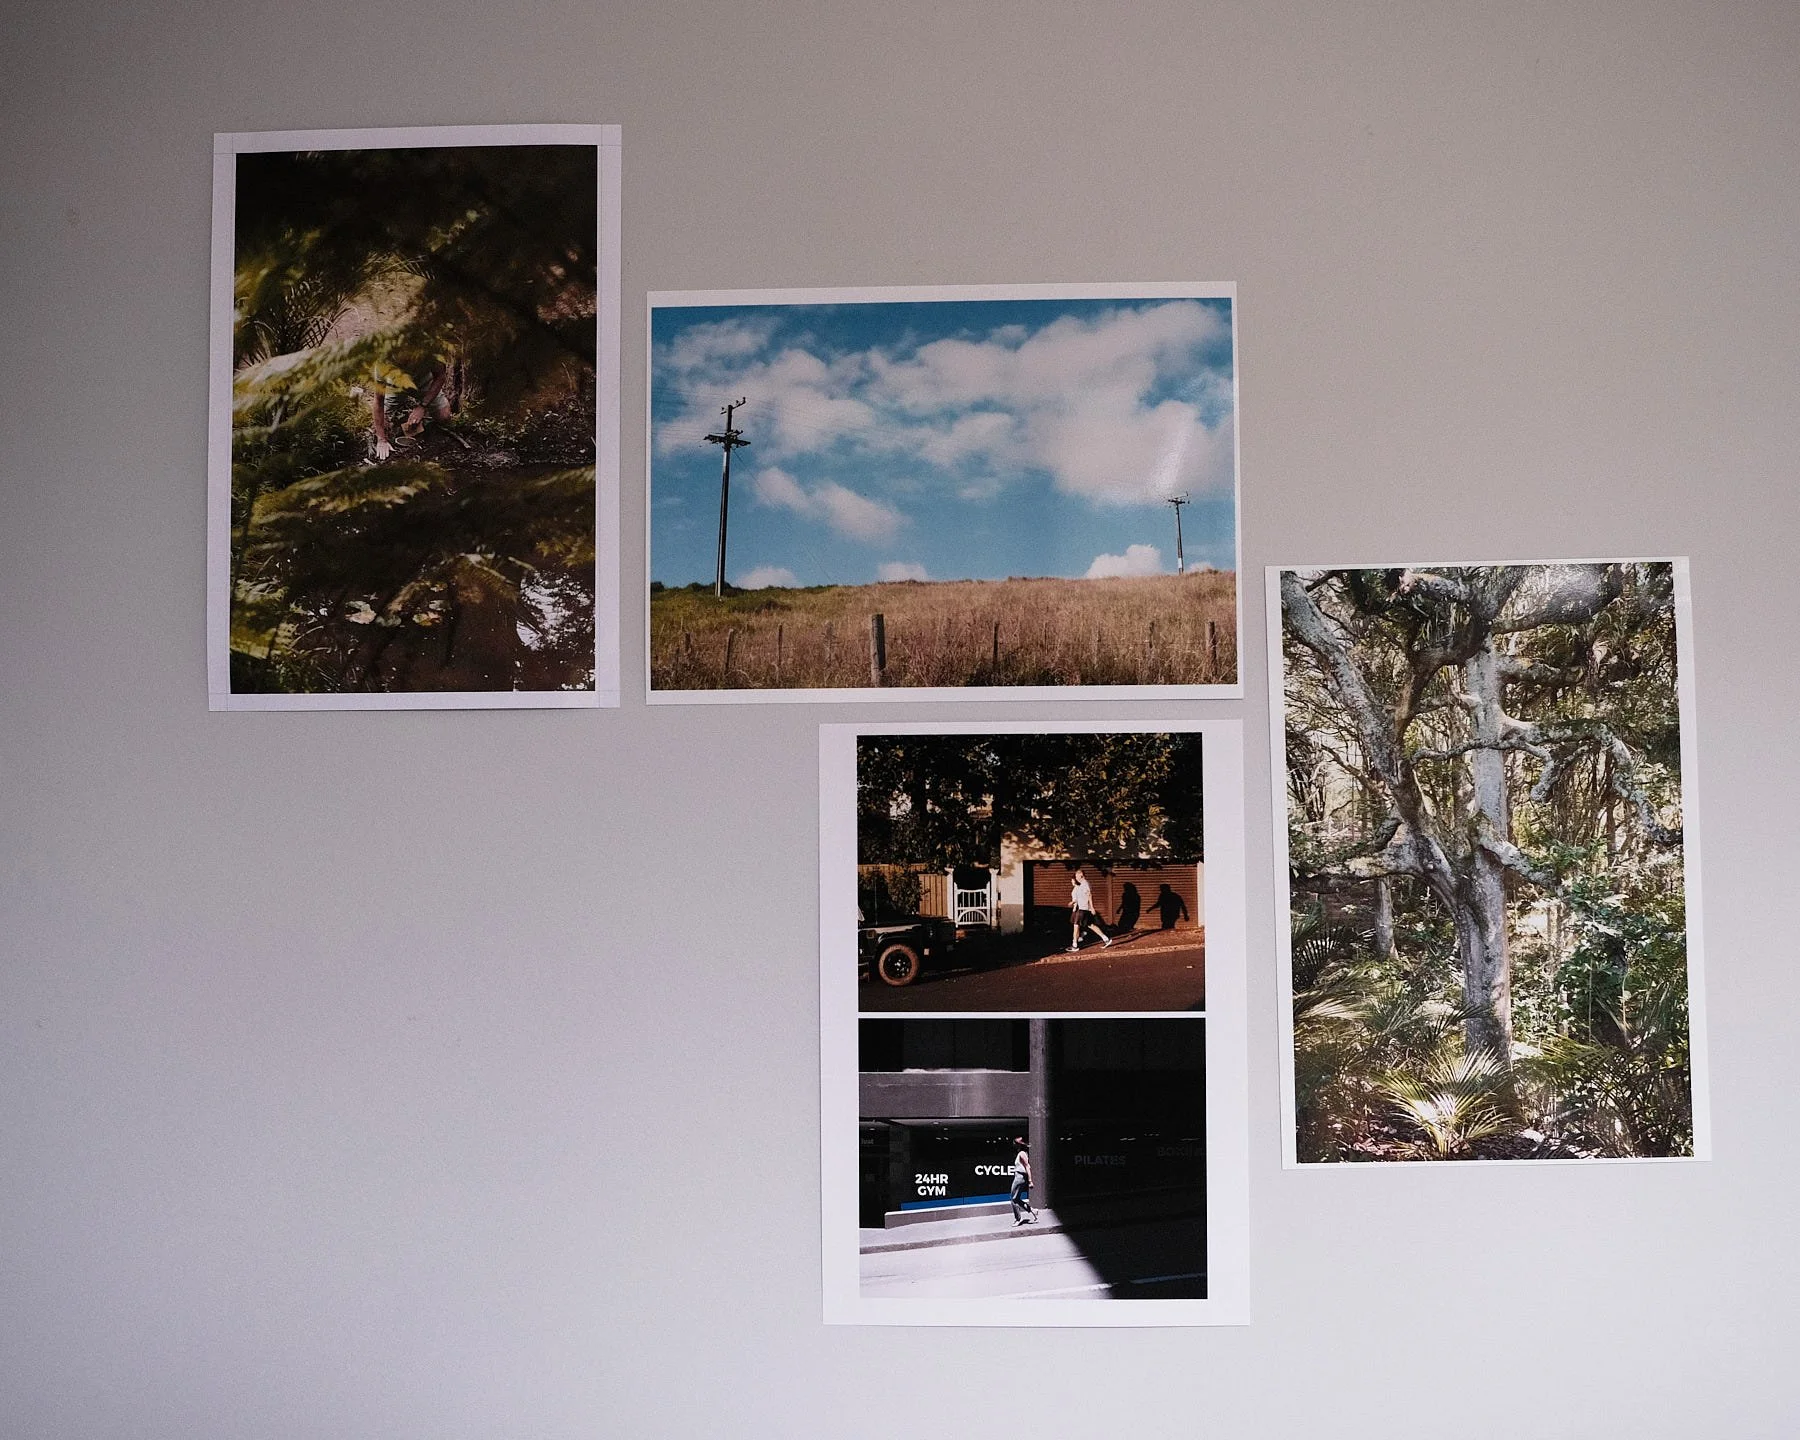
I cleared all the photos from my photo wall and in the process gauged the wall out because the removable double sided tape is not as removable as claimed. Chris helped me patch and paint the wall, creating a fresh template for me to fill with my photography. Sometime last year, Patrick La Roque shared his home printing setup using HP’s instant ink programme. For a monthly subscription, he was able to print without worrying about the cost of replacing ink cartridges. The intention was not to print archival quality prints but a way for him to not over think the process and view his work as part of his Shoebox Project. That sounded like a wonderful idea. A way to step from the digital world of phone or computer screens into the tangible world. Nine months later, instank ink lands in New Zealand. I wish I could say I jumped straight in and signed up. But I went through my usual self doubting process and deliberated for two days. But I’m here finally. I got my printer, my stack of glossy, matte and regular-ish photo papers and I’m printing. Such joy. Such wonderful joy to see my photos.
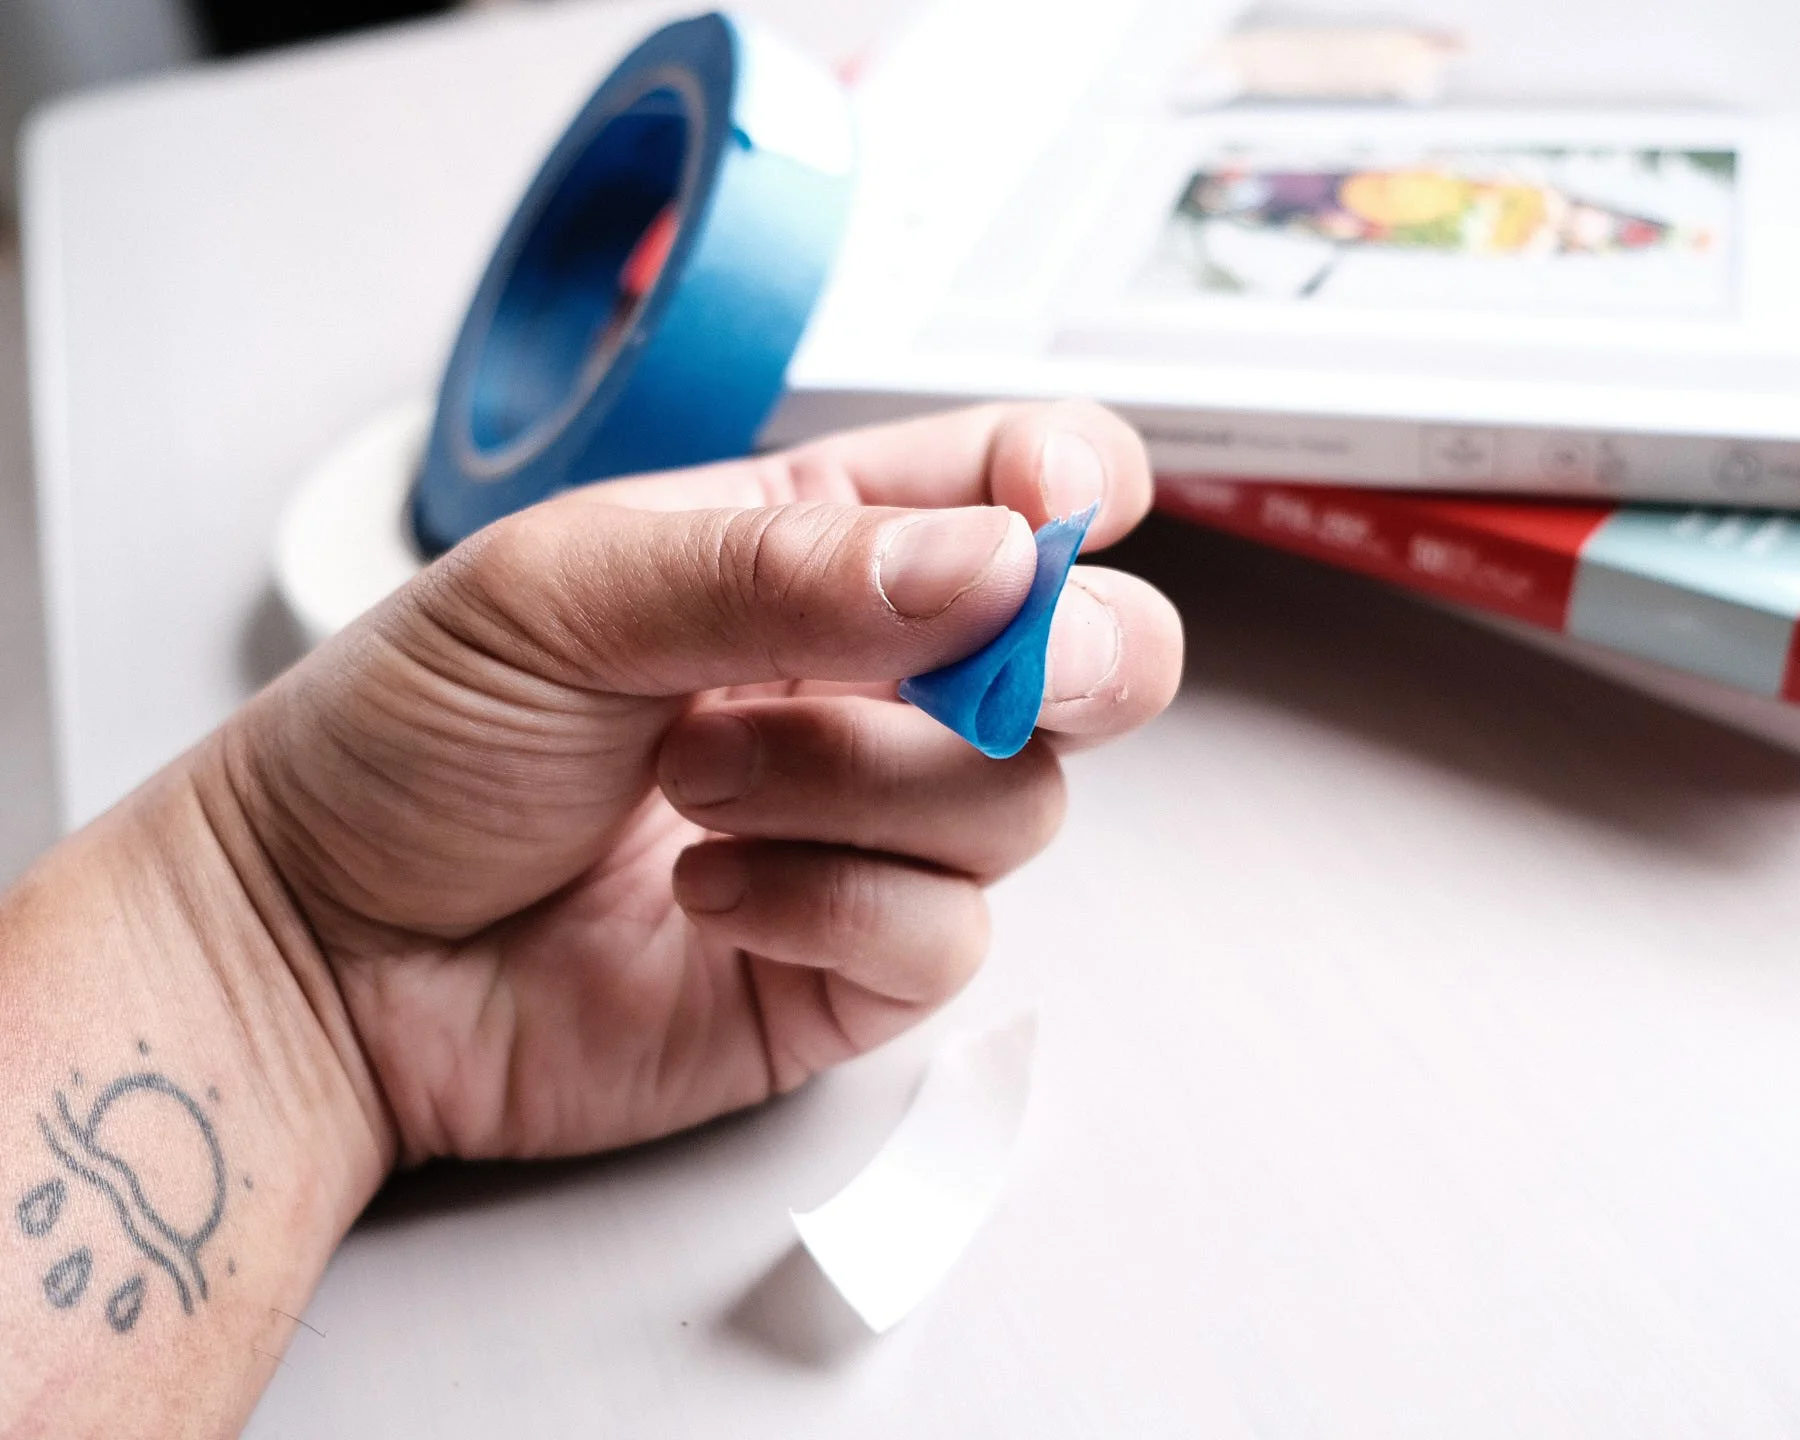
To avoid the same wall gauging issue, I devised a new method to stick the photos on the wall. I like the low tack of painting masking tape but I needed it to somehow stick to the wall and to the photos as well, essentially creating a double sided masking tape. However, I also needed the non tacky sides to stick to each other. I few head scratches later, I tapes double sided tape to the non tacky side of the masking tape and created the double sided masking tape. The photos are staying up nicely on the wall. Utter bliss.